I made a pretty awesome (IMHO) box for all the dominion expansions to date, and here's the high level write up on how I did it.
I started by scouring the internet for ideas of what people had already done, and then used some of those to make my own. I modeled it after a tackle box style of cantilever pull out drawers over a base, and added dividers so it holds 8 rows of cards. I made the lid deep enough to hold all the rule books, and then painted it all to color match the boxes and display the 9 different icons (there were only 8 expansions at the time of construction).
Part 1: Wood cutting
All necessary pieces were cut form one piece of 2'x4'x0.25" medium density fiberboard. I planned out the box, which in total was going to be 12"x12" for the base, and figured out the sizes of each piece. Luckily enough, I was able to oriente them so they would all fit from one big plank. Then, the jigsaw!
All necessary pieces were cut form one piece of 2'x4'x0.25" medium density fiberboard. I planned out the box, which in total was going to be 12"x12" for the base, and figured out the sizes of each piece. Luckily enough, I was able to oriente them so they would all fit from one big plank. Then, the jigsaw!


Each section was gorilla glued together (and held in place by vice grips for 24+ hrs to dry) to make the bottom of the box and each of the two upper half boxes.

Before I glued on two of the sides, though, I drew three equally spaced pencil lines in the bottom section and one pencil line in each of the top sections. Then I used a handsaw to painstakingly cut a shallow groove along these lines.


In these grooves, I glued a thin piece of balsa wood. These will serve as the dividers for the cards.
A few more sides glued on and you get these:


Part 3: Legs and Cantilevers
Next, I added legs to the upper drawers. They tuck into the corners of the lower half of the box when collapsed, and when expanded, they add stability by giving the drawers a little extra support.
I also added the cantilever arms. After tons of 8th grade geometry calculations, I cut the arms so they would allow the box to collapse flush, and expand so that the two drawers overlap the just the edge of the lower box. I used 'furniture screws' to hold the arms on; they're basically a screw and a sleeve so both ends are flush with the wood on either side of a binding.
The basic shape is now complete:


To finish off the wood working, I made a lid deep enough to hold all the rule books, and attached it via chest latches on both sides. Straps will be added later to hold the rule books in place.


Step 6: painting!!
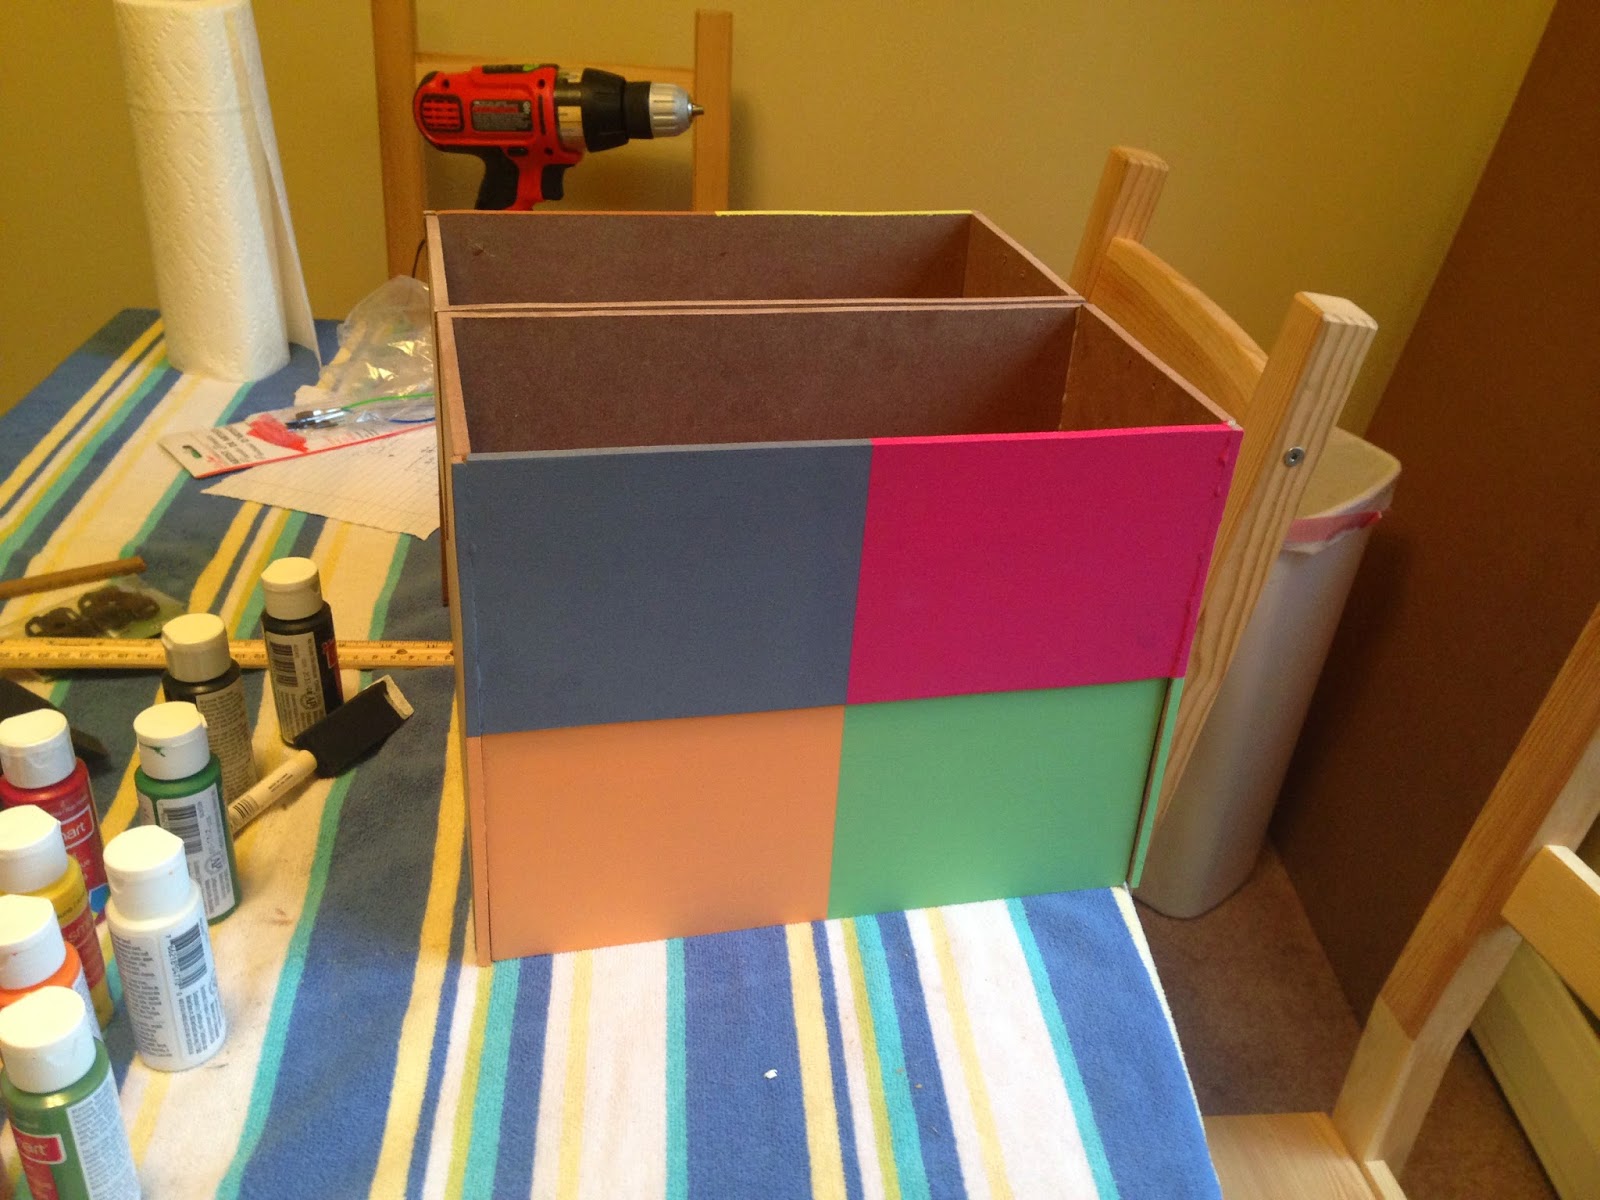
I used acrylic paint for the entire box. On each section, I used paint combinations to try to match the colors as best as I could.
On the two "busy" sides (meaning there's a lot going on with the buckles, the arms, and the four pieces of wood coming together) I just painted the base color of the original Dominion box, and then the castle logo in the center.
On the two "busy" sides (meaning there's a lot going on with the buckles, the arms, and the four pieces of wood coming together) I just painted the base color of the original Dominion box, and then the castle logo in the center.


For the two blank sides, I split them into four sections each. In each section, I painted the base color of the box of each expansion:

Finally, I added a 3" tall black icon of that expansion (regardless of how wide it turned out to be).


This is what the two sides looked like after they were finished:

The lid is painted to be look like the back of a randomizer card. The outlining on the lid is the only thing not done in paint, which was sharpie. The stenciling on this step was by far the hardest part, but it turned out pretty well.


Two coats of polyurethane was added to protect the colors, make the sharpie look like paint, and to make the entire thing feel smoother.

Step 7: Finishing touches
Now, all you have to do is make some dividers which I cut into tri-tab dividers using a pair of scissors, hundreds of tall card dividers, and about 8 hours of Bojack Horseman.
Then I labeled them courtesy of all the wonderful label makers out there on BGG, and I was ready to add all the cards to the box!!

Last thing to do was add some straps to the lid, put the rule books in, and go play!

When I was all done, I had turned this:


into this:


