Material:
- 6 x medium density fiber boards (I used 0.5" thickness, and it resulted in a very sturdy, 4 ton box)
- 2 x (24 x 24 x 0.5")
- 2 x (24 x 23 x 0.5")
- 2 x (23 x 23 x 0.5")
- all the scraps left over from the original 24x48x0.5" sheets
- 1 (or more) 2 ft clamps
- if you don't have 3 or 4, you'll want something that weighs about 50 lbs.
- 2 x hinges and screws
- a rubik's cube
- gorilla glue
- sand paper
- some corner beveling tool that I have no idea what it's called
- acrylic paint in red, orange, yellow, white, blue, green, and black
- painters tape
- a quarter
- razor blade and/or exacto knife (hint: 'and')
- dremel tool for cutting metal
- safety glasses
- small fire extenguisher
- pliers
- small, non-plastic cup filled with water
- 4 x small (1"x1"?) adhesive felt pads
- polyurethane and a very well ventilated area
- a labradoodle, for scale
Building the box:
I found 3 sheets of 2' x 4' MDFB at home depot, and I had the store cut each into the pieces I needed (take the scraps home!!). Each of these pieces sit on top of each other to make the overall box 2'x2'x2'. The two 24"x24" pieces will be the top and bottom; the 24x23's will be sides 1 and 3; the 23x23's will be sides 2 and 4.
The pieces also won't be perfect, so before gluing, stack the pieces on top of each other so you can see which orientation of the pieces has the imperfections best canceling each other out. Build the box in this direction, so you can decrease the amount of edges that are uneven.
Start by gluing one of the 23"x23" pieces on top of the one of the 24"x23" pieces so that they share a 23" side. Before gluing, dampen each face getting glued, and put a string of gorilla glue all along the edge. Clamp the two pieces together and let it dry for at least 3 hours. Personally, I did one glue joint per night, and left it clamped until the next day.

Repeat this process so that the two 23x23" pieces are opposite each other, and the 23x24" pieces are opposite each other. All pieces should be sharing a 23" side, and the 23x23" pieces should be 'inside' the 23x24" pieces, so that the entire ensemble is 24"x24"x23" at this point.

Glue on the bottom piece so that the other four pieces are sitting on top of it. This is where is helps to have lots of grips. Four would be ideal so you can directly clamp each glue joint as it dries. Or, just do what I did and place the lid piece loosely on top and stack a lot of weight on top of it (I used 50 lb of weight). This is the finished product:

Take a razor blade and slice off the glue residue form each joint. Now take the lid, and place it on top of the box to decide which orientation makes it fit all four edges the best. Use whatever is the worst overlap as the front of the lid, as that is the edge you will be lifting up and the poor flushness of the overlap can give you something extra to grab onto.
Once you have the orientation figured out, put on the hinges. I set mine up so that the top face has the hinge underneath and the back face has the hinge on the outside.

Next, use some of the scraps from the wood to make a little tray for the smaller tools. You should have a 23x2" and a 24x2" scrap piece. Cut 1" off the 24" piece so you have two 23"x2" pieces. Glue them together perpendicular along their 23" side. Once that has set, apply glue to all sides except the top and then slide it into the box so the top of the tray is flush with the top of the box. This can be tricky since there shouldn't be any gaps, so just be sure to clean off any smudged glue. Clamp the box as shown:


To fix the screws, use a dremel tool to slice off all the pointy ends that are sticking through. It's recommended to do this while the screw is in a scrap piece of wood since you will scar or burn the wood if you're not careful while cutting the screw tip off.


[Safety first! Have the fire extinguisher ready since there will be sparks flying everywhere. Safety glasses are essential as well, unless you've always wanted to know what it's like to be blind. The screw tips will be extremely hot when they fly off (be ready for that too), so get some pliers so you can grab them. The tips are hot enough to melt the carpet, so the pliers will help you pull hard enough to break that bond as well. Placing the tips into a cup of water will immediately quench it, so that might be helpful.]


Lastly, you need to round all the corners. I used that tool that rounds corners but I have no idea what it's called. Its like a cheese grater (if you have a strong enough cheese grater, that might actually work). It got the majority of the work done, and then I switched to a sanding block for the detailed work. Each edge took about 10 minutes. 2 hours in total. It should now look like this:

Painting:
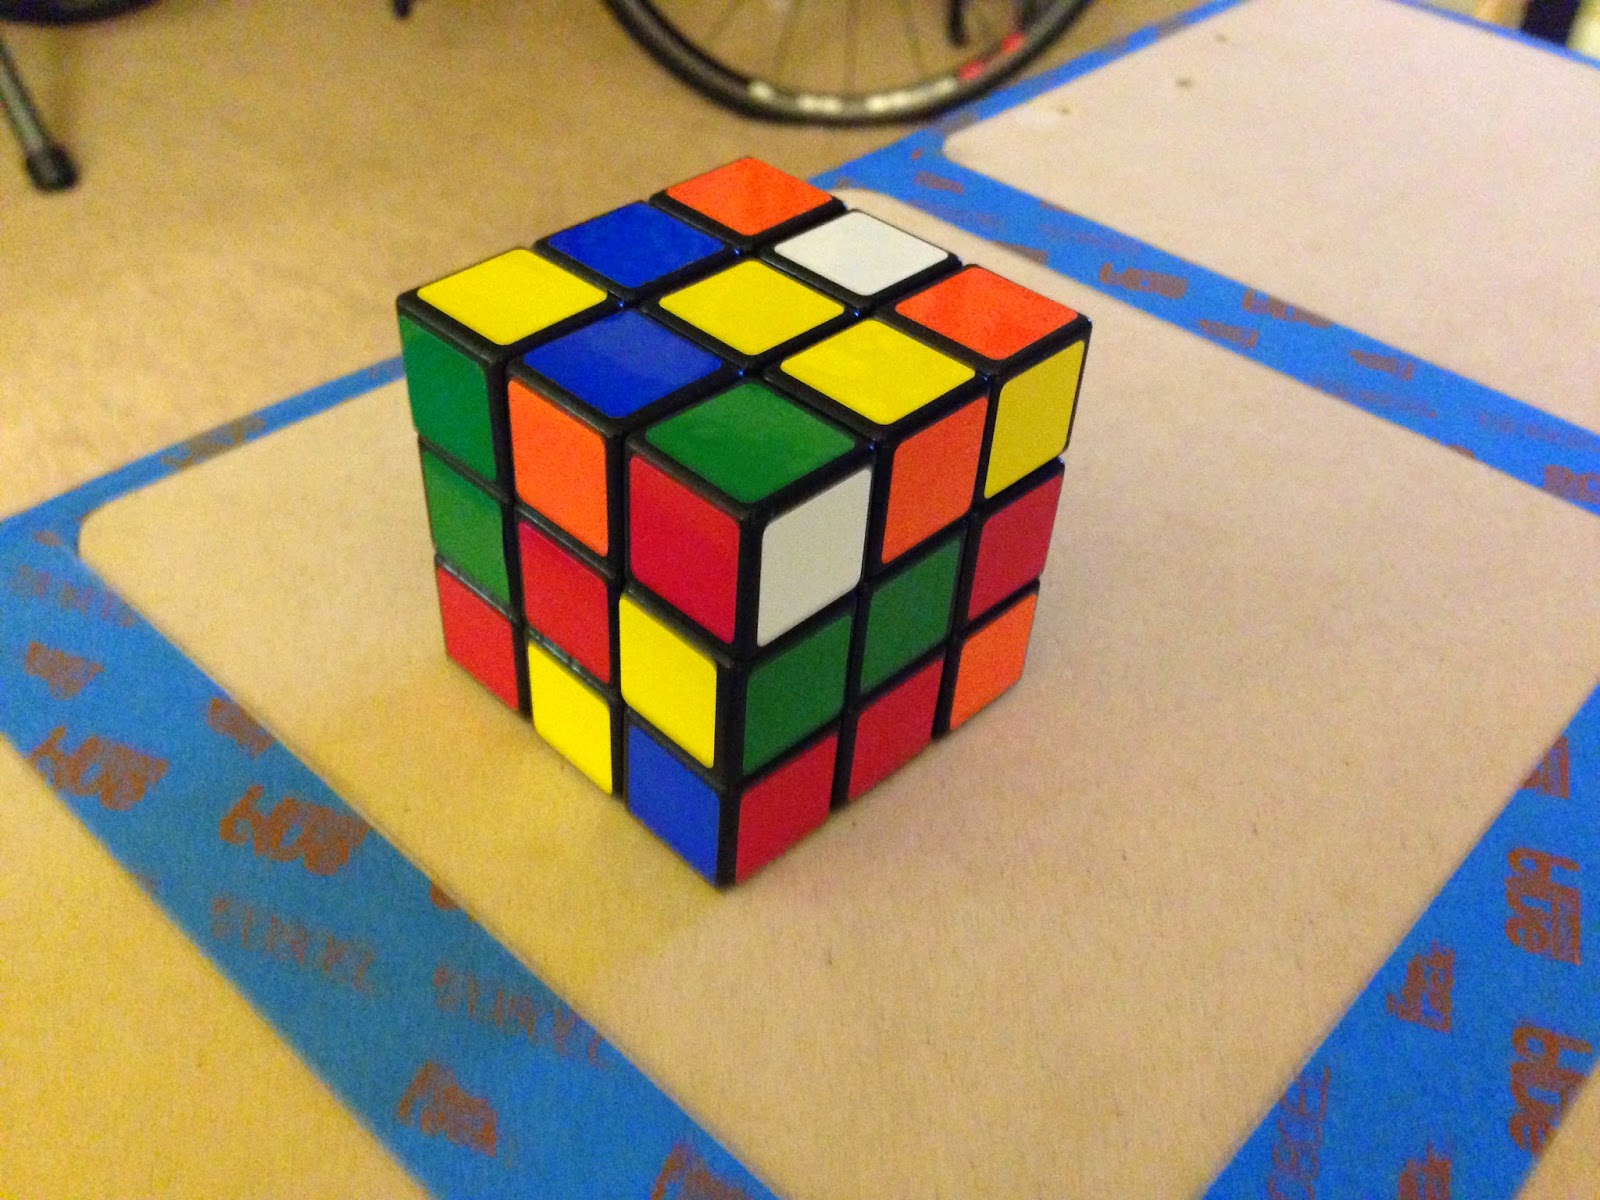
I didn't want to paint the box as a solved rubik's cube, so I just mixed up a cube until I thought it looked cool, and I painted that pattern (if you make one of these and just put random colors on random squares and end up making an impossible to solve pattern, I will light your box on fire as I throw it off a cliff. You've been warned). I used acrylic paint, and you'll need blue, green, yellow, white, orange, red, and black. If you paint a solved cube, you obviously won't need one of the six colors (unless you also want to paint the bottom).

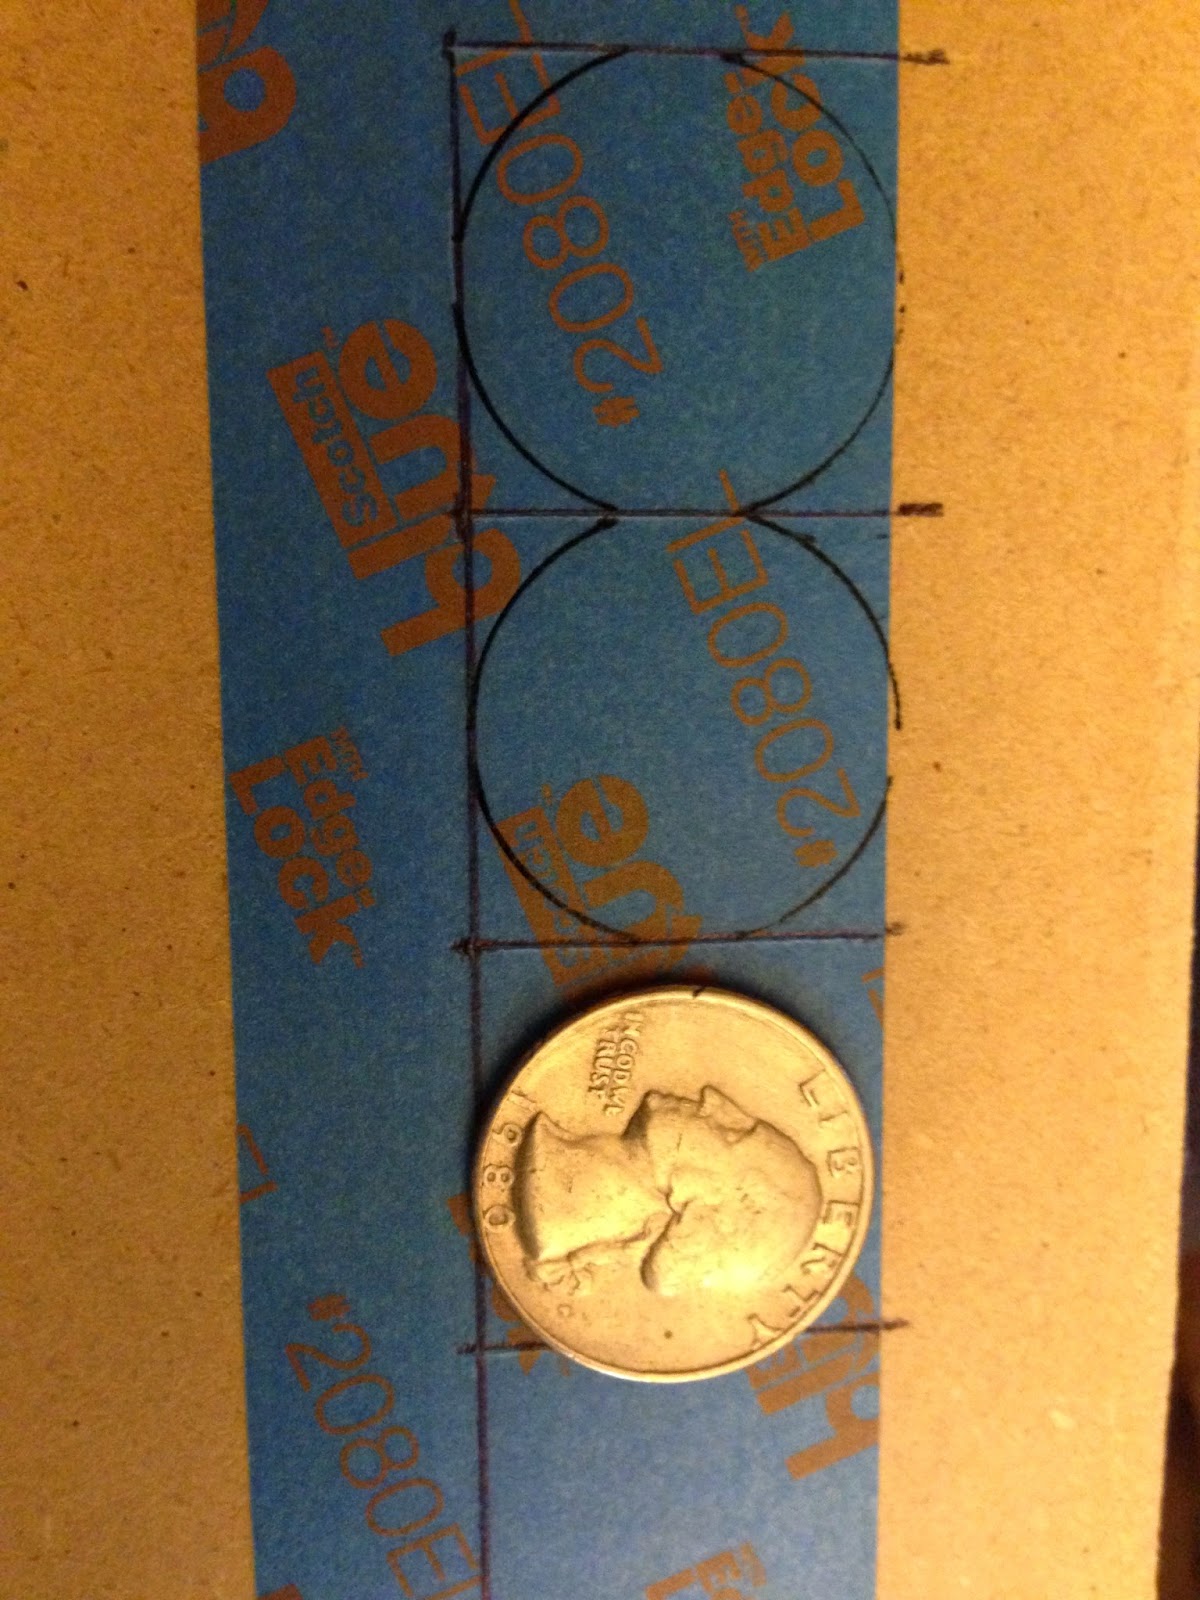
Next, measure the proportions of the color versus black on the cube. It turned out that the thickness of painters tape I had on me was a really good size for the black gap between colors. The rounded edges of the stickers also have a radius proportional to the size of a quarter at the 2'x2'x2' scale. I put down a strip of painters tape and traced a quarter a bunch of time. I cut it into the quarter arc pieces and then put one into each corner of each of the 9 squares. It took forever, and proved to be completely unnecessary. Win win.


Once you paint it, the corners will look so fresh :D
Do this five times, and then start the black part. Cover each of the 9 squares, and then round the corner by placing a quarter on top of the tape at each of the 36 corners so that the top and side of the quarter are flush with the top and side of the corner. Cut with an exacto knife around the arc of the quarter, and pull off the small piece of tape that was just cut. Since you're about to paint black, this is the point where you realize you could've just painted the corner in the first place, and then painted black on top of it. You realize how much time you've wasted by cutting all the arcs in the first place, only to have to cut them again. It's a fun moment.


Once you've painted all five sides, you can add a thin coat or two of polyurethane. If you do, it'll be a little smoother and better protected from mayhem (like me). But it'll also make your apartment uninhabitable if all you have for ventilation is a window and a small fan. You've been warned.
Before you start using the box, you'll probably want to add little felt pads to the under side of the lid. This will absorb some of the energy when you close the lid, and it won't slam as hard, which can be really loud. It will also raise the lid and give you a good spot to grab onto in order to open the lid.


You're all done now! This is where you'll want to grab your labradoodle for scale and place it next to the box.

Once everything is done, put your tools in it, put your stuff on it. Enjoy your cool new table/box!


